

Solo tutor admin automation is the practice of using tools and preset workflows to handle repetitive back-office tasks automatically, freeing you to spend more time teaching. Scheduling, invoicing, payment reminders, and student onboarding all qualify as prime candidates. Admin automation can cut weekly workload by up to 80%, which translates to 10–15 hours back in your week — time you can put directly toward lesson prep, student feedback, and growing your practice.
Which admin tasks should solo tutors automate first?
The highest-impact place to start is scheduling. Scheduling automation eliminates the back-and-forth emails that eat up time before a single lesson even begins. A good booking system lets students self-schedule within your available windows, sends automatic confirmations, and fires reminders before each session. Fewer no-shows and zero inbox clutter are the immediate results.
After scheduling, automated invoicing and payment reminders deliver the next biggest return. Manual invoicing is error-prone and awkward. Automating it means invoices go out the moment a session ends, and reminders follow on a preset schedule without you having to chase anyone.

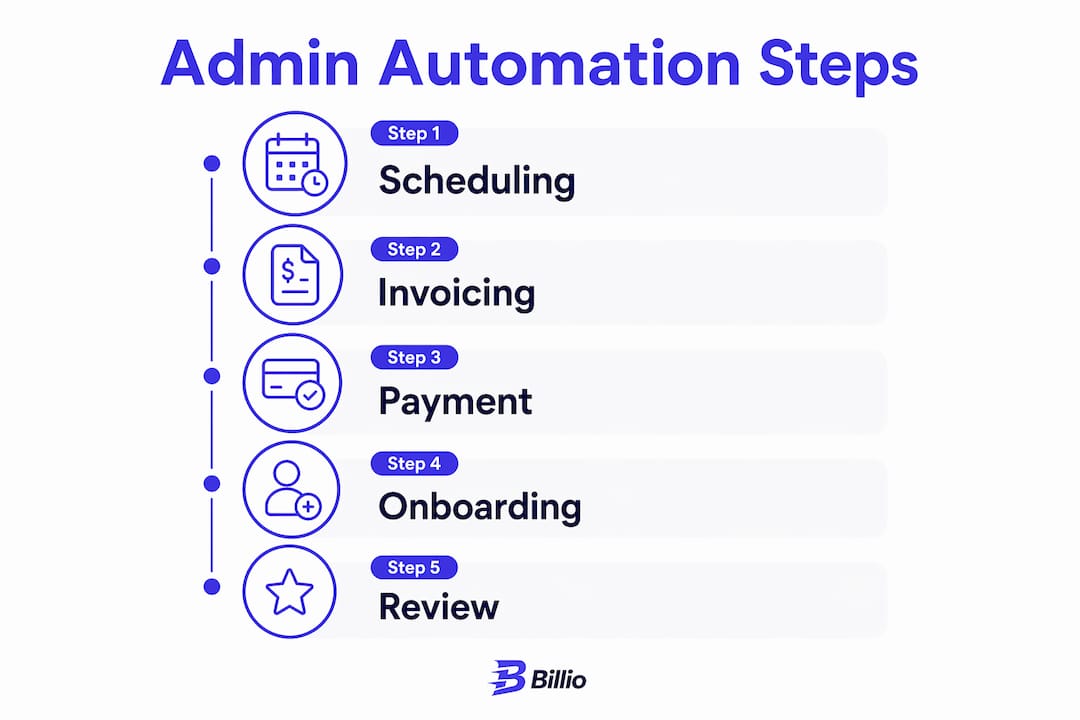
The third priority is student onboarding. Automated onboarding email sequences improve student engagement with minimal effort — a welcome message, a pre-session checklist, and a two-week check-in can all run on autopilot once you write them once. Here's a practical order to follow:
- Scheduling and rescheduling — self-booking links, automated confirmations, session reminders
- Invoicing and payment reminders — auto-generated invoices and timed follow-up for unpaid balances
- Student onboarding sequences — welcome emails, intake forms, pre-session instructions
- Progress update templates — structured session notes you fill in quickly and send automatically
- Attendance tracking — logged automatically when sessions are confirmed or completed
Write your onboarding email sequence before you set up any other automation. It touches every new student, so getting it right first pays off across your entire practice.
What tools do solo tutors need for effective admin automation?
The core principle is simple: select tools that integrate natively with the Google or Microsoft ecosystem you already use, rather than adopting complex enterprise platforms built for large organizations.
| Admin category | Tool type needed | Key feature to look for |
|---|---|---|
| Scheduling | Booking and calendar app | Self-booking links, buffer times, reminders |
| Invoicing | Billing and payment tool | Auto-invoice generation, recurring billing |
| Student management | CRM or student profile system | Session history, notes, contact details |
| Communication | Email or messaging automation | Trigger-based sequences, templates |
| Attendance | Tracking or session log tool | Auto-log on session confirmation |
An all-in-one platform like Billio covers all five categories in a single app, removing the integration headaches that come with stitching together five separate tools.
Beyond the tools themselves, you need three setup essentials before automation works reliably: your calendar must be linked so booking conflicts are impossible, a payment processor must be connected so invoices can be paid directly, and your communication channels must be configured with approved message templates. Template-driven messages and simple intake forms reduce complexity and increase consistency across every automated communication.
Avoid any tool that requires more than one hour to set up your first workflow. If setup is that complex, day-to-day use will be worse. Simplicity at setup predicts simplicity in practice.
How to implement automated workflows step by step
A clear sequence prevents the most common rollout mistake: trying to automate everything at once. Follow these steps in order.
- Map your current admin time. Write down every recurring task you do each week and how long each one takes. This gives you a baseline and shows where automation will have the most impact.
- Set up your scheduling automation first. Connect your calendar, configure your available hours, and create a self-booking link. Test it by booking a session yourself and confirming that reminders fire correctly.
- Build your invoicing workflow. Link your payment processor, create an invoice template, and set the trigger so invoices generate automatically after each session. Add a payment reminder sequence for 3 days and 7 days after the due date.
- Create your onboarding sequence. Write a welcome email, a pre-session preparation note, and a two-week check-in. Set each to send automatically based on enrollment date.
- Run everything in parallel for two weeks. Running automation in parallel alongside your manual process lets you compare automated outputs against your usual standard before fully handing off control. This builds trust in the system.
- Review and adjust triggers and templates. After the parallel run, check every automated message that went out. Fix any timing issues, update language that felt off, and confirm billing amounts are correct.
- Automate attendance and progress note templates. Once billing and scheduling are stable, add session logging and structured note templates. These are lower-risk automations that build on the foundation you've already tested.
- Set a monthly review date. Block one hour each month to check that all workflows are still firing correctly and that your templates still reflect how you communicate.
The parallel run step is the one most tutors skip, and it's the one that prevents the most problems. Two weeks of side-by-side comparison catches errors before students ever notice them.
What mistakes should you avoid when adopting admin automation?
The most common mistake is attempting to automate everything at once. Trying to automate all workflows simultaneously leads to frustration, configuration errors, and a loss of confidence in the entire system. One workflow at a time is the correct pace.
- Choosing overly complex tools. A feature-heavy platform designed for large schools will slow you down. You need a tool you'll actually open every day without friction.
- Skipping the review phase. Automated messages still represent you. Review every template before it goes live and check outputs weekly during the first month.
- Removing the human touch entirely. Automation handles routine operational work like billing reminders and confirmations. Personalized feedback, encouragement, and relationship-building stay with you.
- Forgetting approval steps for sensitive messages. Progress reports and similar communications should require your review before sending. Not every message should fire without oversight.
- Ignoring early feedback from students. If a student mentions that a reminder felt confusing or an invoice arrived at a strange time, fix the template immediately. Early feedback is free quality control.
The goal of automation is not to replace your judgment — it's to remove the tasks that don't require your judgment, so you have more energy for the ones that do.
Why most tutors automate in the wrong order
Most advice on solo educator productivity tells you to start with the flashiest automation — usually AI-generated lesson plans or automated progress reports. That's the wrong place to begin. Progress reports require judgment. Scheduling and invoicing do not.
The temptation is to automate the visible, impressive tasks first. What actually moves the needle is automating the invisible ones: the confirmation email, the payment reminder, the intake form. Those are the tasks that drain you in small increments every single day, and they are the easiest to hand off cleanly.
Resist the urge to personalize every automated message into something unique — that defeats the purpose. Write one strong template, test it, and trust it. The time you save on repetitive communication is time you can put into a genuinely personal end-of-term note that actually means something to a student.
Automation works best when you treat it as a boundary, not a replacement. It handles the routine so you can show up fully for the moments that require you. That balance is what makes a tutoring practice feel sustainable long-term, rather than like a second job built entirely around paperwork.
How Billio fits into your automation setup
Billio brings student profiles, session scheduling, attendance tracking, invoice generation, and automatic payment reminders into a single app — no multiple tools, no complex integrations.
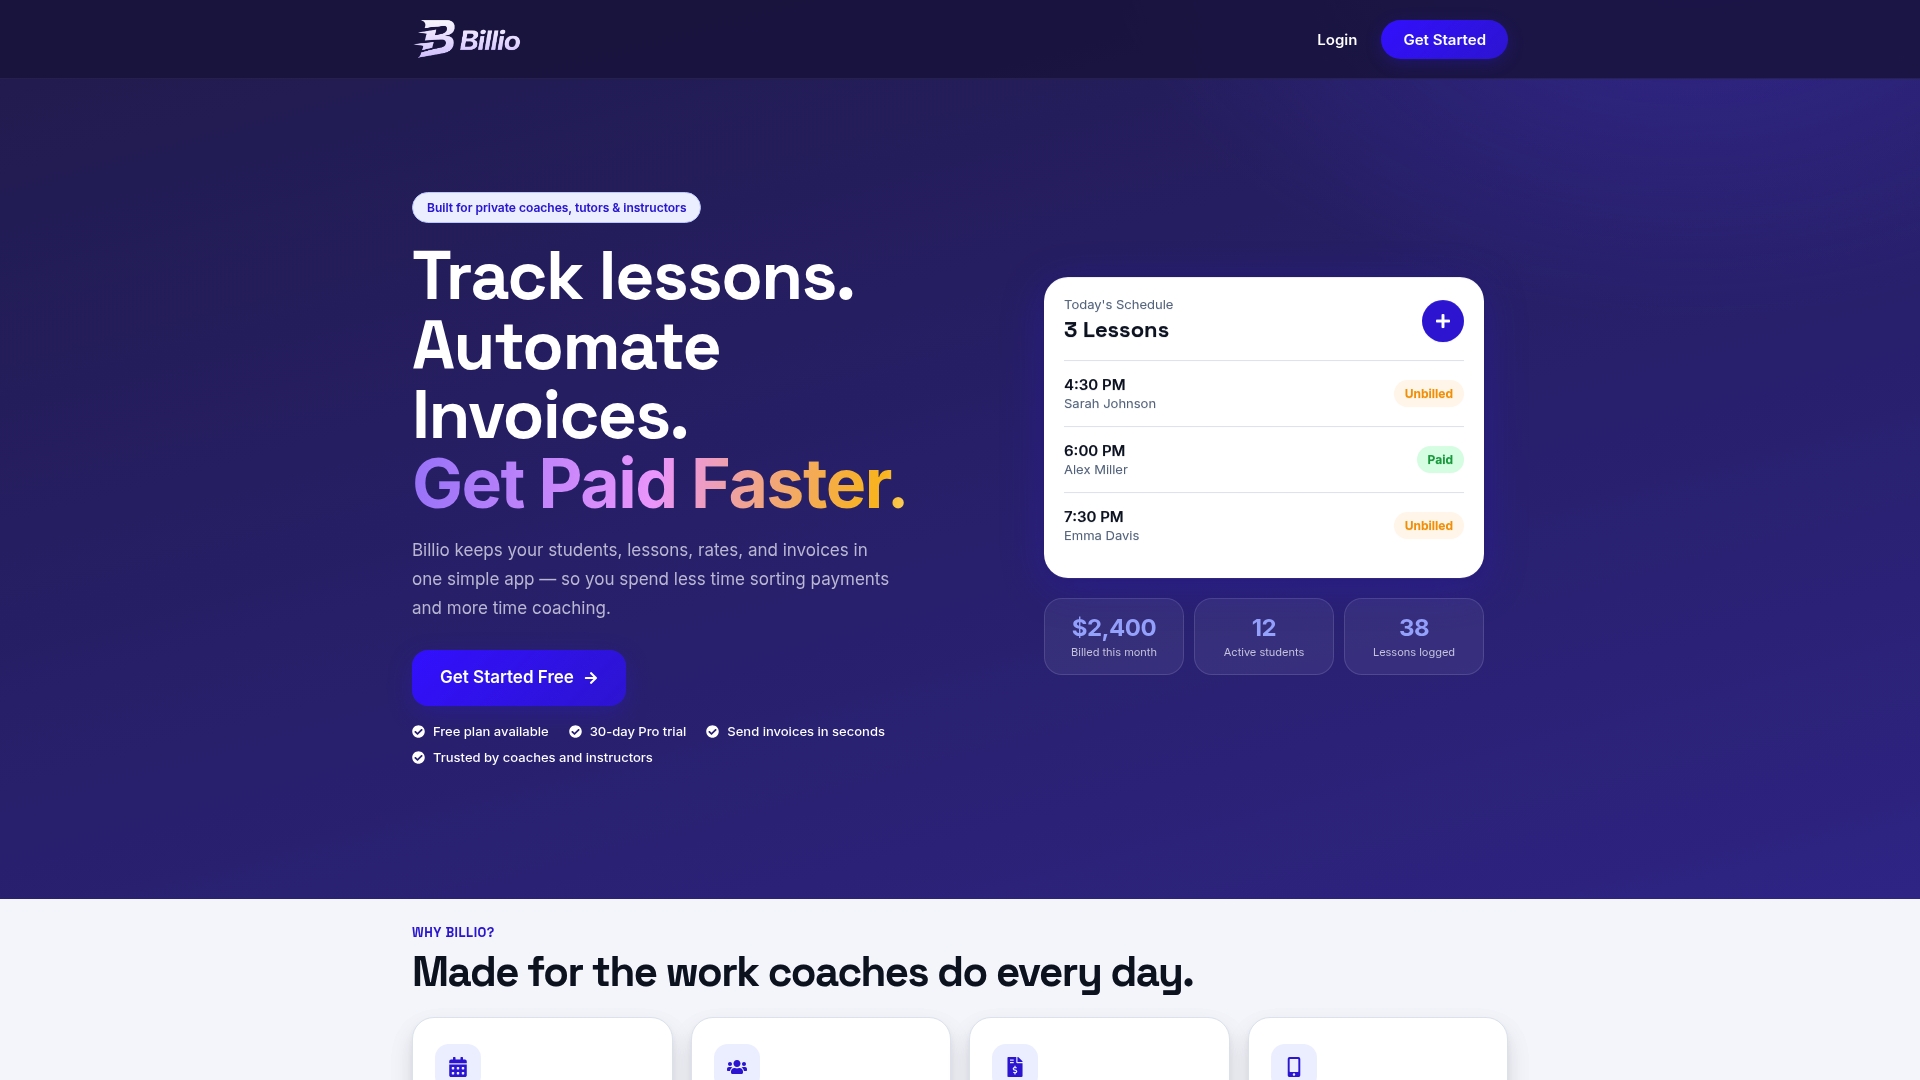
Recurring billing keeps your revenue predictable, and automatic reminders remove the need to chase late payments manually. The setup is fast, the interface is clean, and the automation handles the back-office work that currently takes up your evenings. Whether you have five students or fifty, Billio gives you the structure to run a professional practice without the administrative weight. Start free with up to 5 students — no credit card required.
Key takeaways
| Point | Details |
|---|---|
| Start with scheduling | Booking automation cuts no-shows and eliminates back-and-forth emails immediately. |
| Follow a phased rollout | Automate scheduling and payments first; add onboarding and notes only after those are stable. |
| Run a two-week parallel test | Compare automated outputs to your manual standard before fully handing off any workflow. |
| Keep humans in the loop | Automate routine messages; keep approval steps for progress reports and sensitive communications. |
| Choose simple tools | A tool you use daily with minimal friction beats a feature-heavy platform you avoid. |